Passo Falzarego - Lagazuoi Piccolo (via gallery)
Starting point: Passo Falzarego (2105 m)
| Lat/Lon: | 46,5195°N 12,0085°E |
| |
Name of path: via gallery
Time of walking: 2 h 15 min
Difficulty: difficult marked way
Altitude difference: 673 m
Altitude difference po putu: 700 m
Map: Tabacco 03 1:25.000
Recommended equipment (summer): helmet, lamp
Recommended equipment (winter): helmet, ice axe, crampons, lamp
Views: 14.897
 | 2 people like this post |
Access to the starting point:
First, drive to Cortina d'Ampezzo (you can get here via Border crossing Rateče or Predel to Trbiž / Tarvisio and then take the motorway towards Udine to the Tolmezzo exit. From Tolmezzo, follow the road towards Ampezzo and the Passo della Mauria mountain pass. The road then descends and leads to a crossroads where you turn left (possibly right) towards Cortina d'Ampezzo. At all subsequent junctions, follow the signs for Cortina d'Ampezzo.
Or from the Primorska side, take the motorway towards Trieste. Continue on the Italian motorway towards Padua, but only as far as the motorway junction where you continue towards Veneto and Belluno. Near Belluno, the motorway ends and we continue towards Cortina d'Ampezzo at the next junctions and then follow the signs for the Passo di Falzarego Alpine pass. We then follow this ascending road to the large parking lot at the pass.
Path description:
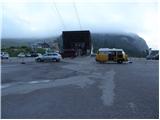
Just a few dozen metres away from the parking lot at the lower pendulum station on Lagazuoi Piccolo, you will see the signs for the Lagazuoi Gallery. The route initially takes you along a less-traveled dirt road (a road closed to traffic for the purposes of the ski resort), which, after a short climb, leads you to a point where the signs for the gallery point slightly to the left. The ascent continues along a wide mountain path which climbs parallel to the road we have just left. The moderately steep path then leads from the dwarf pines strip to the scree fields, which offer beautiful views, especially to the south. After less than an hour's walk, the well-maintained path leads to a crossroads, where we continue to the left in the direction of the Lagazuoi Gallery (on the right, the normal mountain path).
The way forward immediately climbs steeply on a well-sheltered shelf to reach the first tunnel. Here you will also see a warning sign that you will need good fotwear, a torch and a helmet to continue walking (watch out for the occasional low ceiling while walking through the tunnels). After crossing the first relatively short tunnel, the path descends using the fixed safety gear, crosses a ravine and then, after a slightly exposed and overloked ledge, leads you to the entrance of the more extensive gallery of underground tunnels. Here, an entrance sign directs you to the right into the tunnel, which ascends by steps and a ropeway along the edge of the southern wall. As you climb through the tunnel, you will see some windows which offer magnificent views. The rather damp path then leads to a crossroads at 2551m (I will describe the left-hand path further on).
At the junction of the two tunnels, take the left-hand one, where you continue your ascent in complete darkness (there are no windows here, which would give some light at least occasionally). A rather long, steep and damp tunnel leads you higher up to the next junction (here you can see the legend of the tunnels on the wall). Continue left again, where you climb up to the so-called Rom 3 by means of a short, very steep wooden staircase. After a further short climb, a tunnel with an exit sign branches off to the left, and we continue straight ahead to the beautifully "preserved" next rom (again, emergency call). Just a little further on, the path leads us out of the tunnel to a viewing shelf, from which we can enjoy a wonderful view. The path then climbs steeply up an exposed ledge using the fixed safety gear route to reach the next rom at 2629m. The path goes into a tunnel again and quickly leads to the next crossroads. The right path leads to the right (left via a steep ladder to reach a viewpoint, a blind path), which after a few further steps leads to a large number of tunnels (a wheelbarrow, which is not from the war, is on display nearby). Continue along the left-hand one (not the one that ends after a few metres) which, after a further short climb, leads to a place where the tunnel from the Spirale Gallery joins us (we climbed up the gallery to Crest). The path then finally leads us out of the tunnels onto an overloked, slightly exposed but well protected ridge (this is where a good part of the 20 June 1917 mine collapsedFrom home, we continue along the well-trodden path, which soon leads us along the summit ridge to an expansive and scenic peak.

Pictures:
 1
1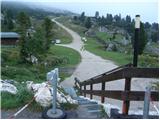 2
2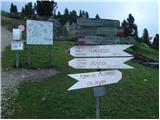 3
3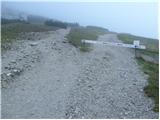 4
4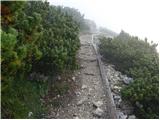 5
5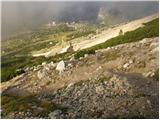 6
6 7
7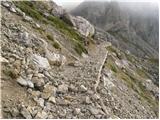 8
8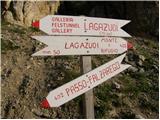 9
9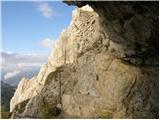 10
10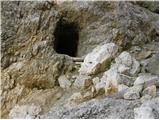 11
11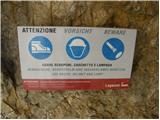 12
12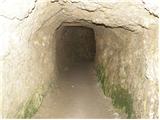 13
13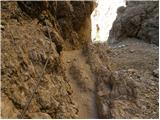 14
14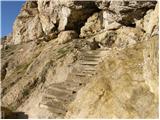 15
15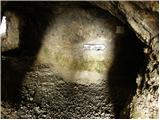 16
16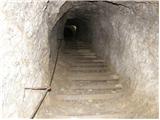 17
17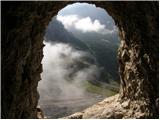 18
18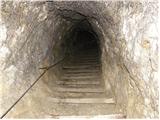 19
19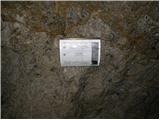 20
20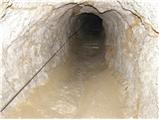 21
21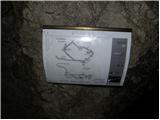 22
22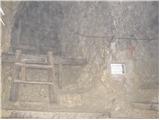 23
23 24
24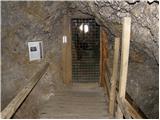 25
25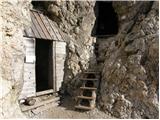 26
26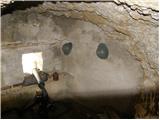 27
27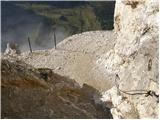 28
28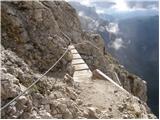 29
29 30
30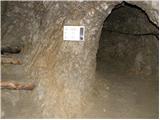 31
31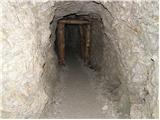 32
32 33
33 34
34 35
35 36
36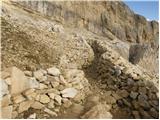 37
37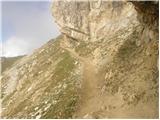 38
38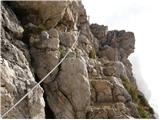 39
39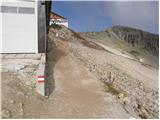 40
40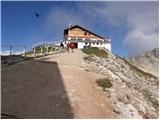 41
41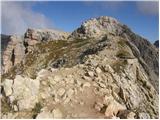 42
42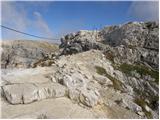 43
43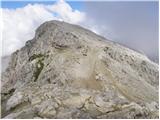 44
44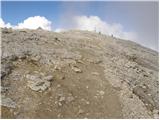 45
45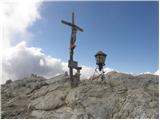 46
46
Discussion about the trail Passo Falzarego - Lagazuoi Piccolo (via gallery)
|
| Borut110. 07. 2023 23:11:22 |
Izjemno zanimiva tura z zgodovinskim pridihom prve svetovne vojne. Vračamo se lahko po drugi poti (Kaiserjägersteig), ki poteka preko vrha in se v strmih okljukah spušča proti prelazu Falzarego. Tako naredimo krožno turo, pri tem pa dobimo vpogled v nekdanje italijanske in avstrijske vojaške položaje (prva svetovna vojna). Je pa ta pot spusta manj varovana in bolj posuta z gruščem.
|
|
|